
Toilet Cleaning: Why Systems Matter More Than You Think
/Toilet Cleaning, Why Systems Matter More Than You Think
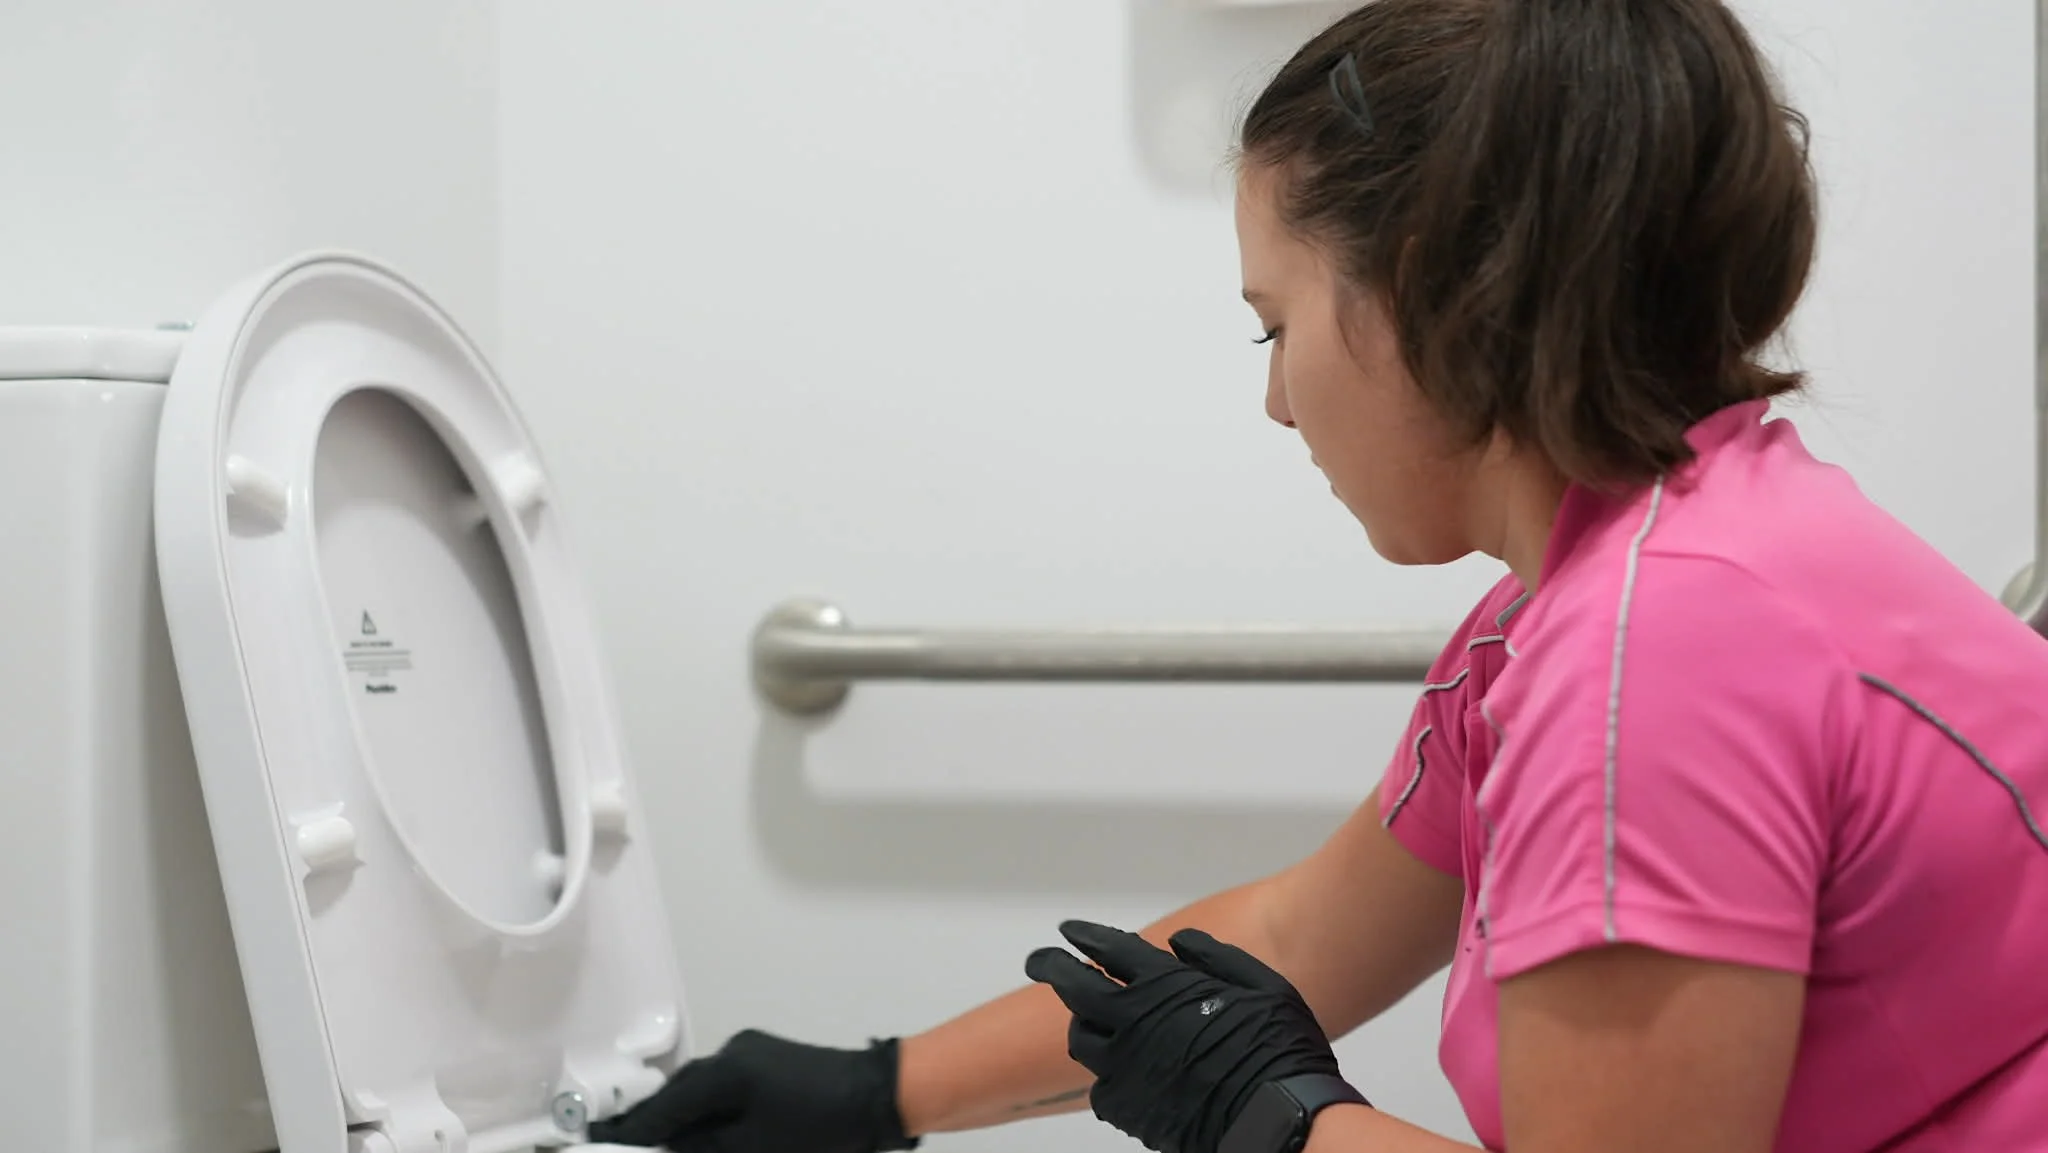
Toilet cleaning is one of the most important and most misunderstood parts of professional cleaning. It’s also one of the areas where poor practices can quietly create hygiene issues in homes and workplaces without anyone realising.
When we interview cleaners especially those who have previously worked in the cleaning industry, one of the first questions we ask is how they clean a toilet. Surprisingly often, the answer involves using a single cloth across the entire area. The bowl, seat, lid, flush button and surrounding surfaces are all wiped in one go.
While this may look efficient on the surface, without a clear system and process in place, this approach can lead to cross-contamination rather than proper hygiene.
This is why toilet cleaning is something every client should feel confident asking their cleaner about.
The Problem with “One-Cloth” Cleaning
A toilet is not one surface it is a collection of zones, each with different hygiene risks. When the same cloth is used throughout the entire toilet area, contaminants from higher risk areas can be transferred to touch points such as the seat, lid or flush button.
The end result is a toilet that appears clean but may not be hygienically safe. This is one of the most common issues we see when cleaning is done without structure or proper training.
Why Toilet Cleaning Must Follow a System
Professional cleaning is not about speed or shortcuts. It’s about consistency and method.
A proper system ensures that
The same standard is achieved every time, regardless of who is cleaning
Hygiene is prioritised over appearance
Without systems cleaning quality depends entirely on the individual cleaner on the day and that’s not something clients should have to gamble on.
What a Proper Toilet Cleaning Process Looks Like
A professional toilet clean follows a deliberate order and clear separation of tasks.
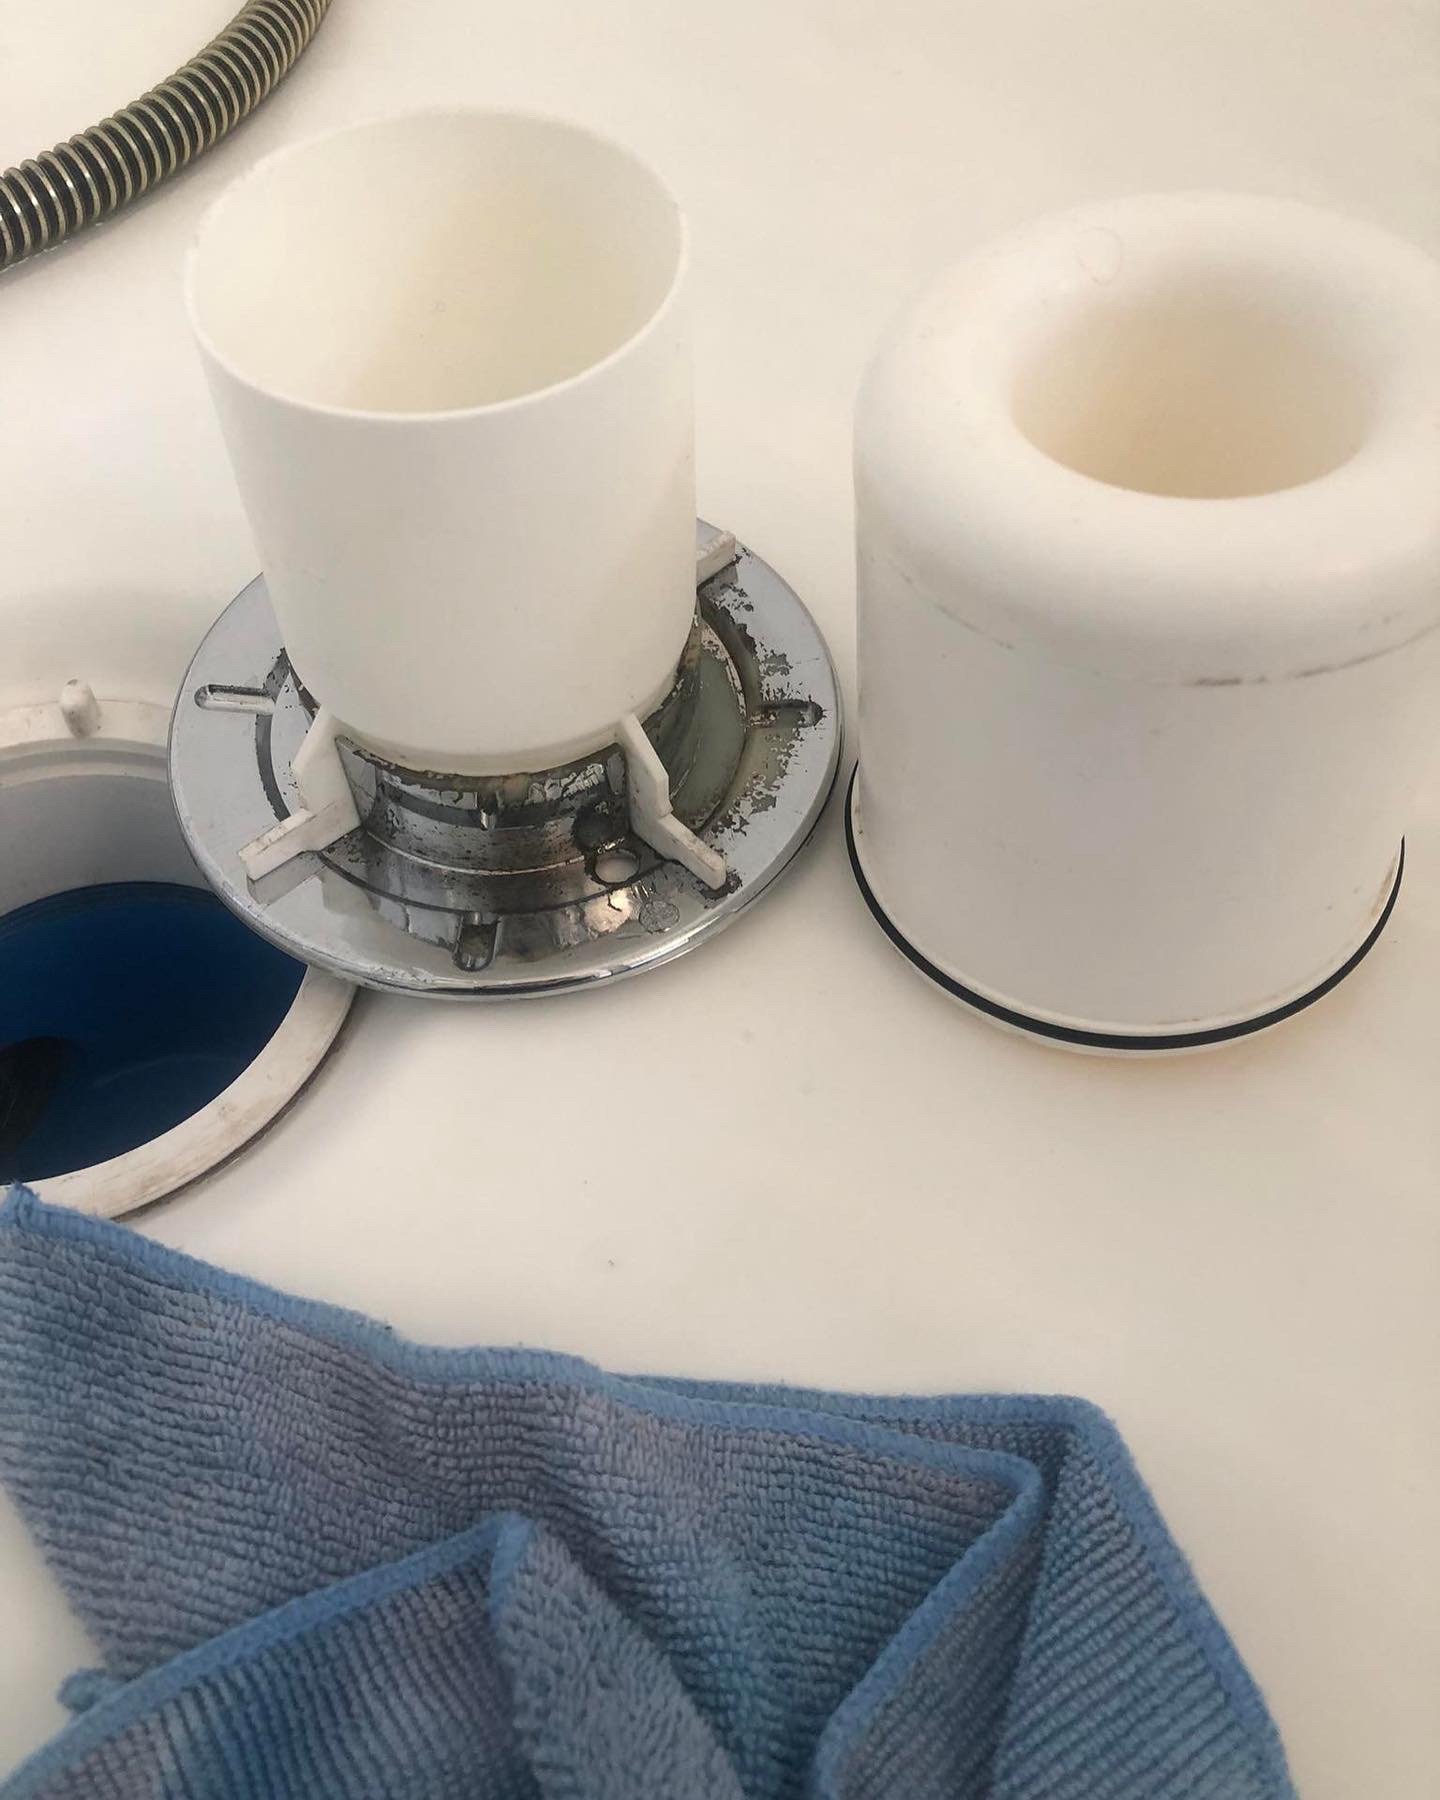
If you choose to use cloths make sure they are colour-coded or designated specifically for toilet use and are never used elsewhere in the bathroom. Toilets are cleaned from top to bottom and from the outside in, ensuring that touch points are addressed before the bowl itself. Fresh cloths are used as needed and removed immediately once they’ve served their purpose.
Equally important is how cloths are handled after cleaning. Rinsing and reusing is not an acceptable hygiene practice. Proper systems require cloths to be separated, laundered correctly and never reused across different areas of a home or site.
Why We Use Toilet Paper for the Bowl
As part of our toilet cleaning system, we use toilet paper for cleaning of the toilet rather than reusable cloths. This is a deliberate hygiene choice.
Toilet paper is single use and disposed of immediately, which removes any risk of transferring contaminants to other areas of the toilet or bathroom. It also eliminates the chance of a cloth being accidentally reused elsewhere.
Cloths are reserved strictly for other bathroom surfaces only and are clearly designated and managed within our cleaning system. This separation of tools is one of the simplest and most effective ways to prevent cross contamination and maintain proper hygiene standards.
Why Systems Protect Clients
When a cleaning company has strong systems in place, clients benefit from
Consistent results
Higher hygiene standards even when you can’t see them
Trained staff who follow the same process every time
Clear quality control and accountability
Without systems, standards vary, shortcuts happen and hygiene can be compromised often without anyone noticing.
A Question Every Client Should Ask
One of the most important questions you can ask your cleaner is
“Can you explain how you clean toilets and how you prevent cross contamination?”
A professional cleaner should be able to clearly explain their process. If the answer is vague or rushed it may be worth reconsidering who you trust with your cleaning.
Cleaning Is About Health, Not Just Appearance
Toilets are one of the most critical areas in any cleaning routine. They require structure, training and a clear system to ensure they are cleaned properly not just made to look clean.
Anyone can wipe a toilet.
Our cleaners follow a system that protects hygiene, health and peace of mind.
Choosing a cleaning company with proven processes means choosing consistency and cleaning done right.